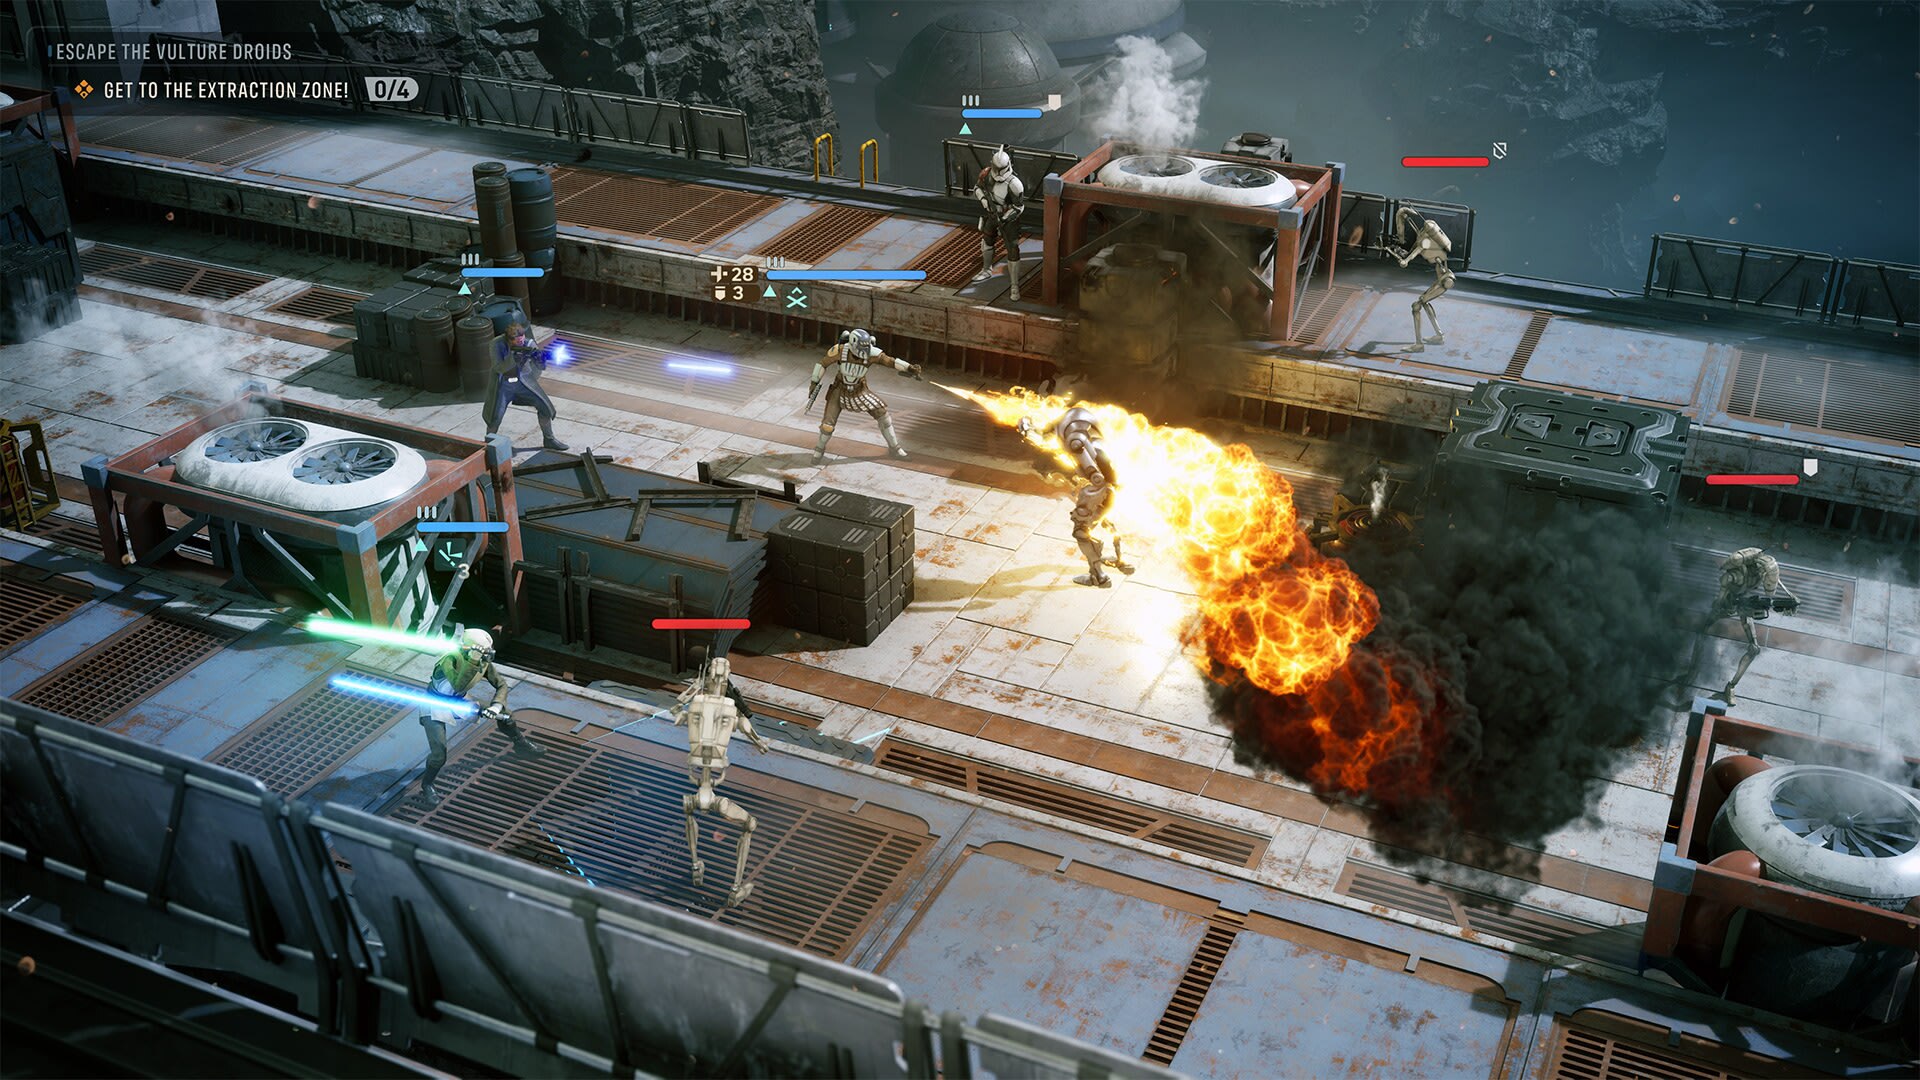
Quick answer: the eight standard Specializations are Assault, Gunslinger, Heavy, Medic, Scoundrel, Scout, Sharpshooter and Soldier. There is no single best class for every squad. Pick by role: Assault for mobility, Gunslinger for rapid offense, Heavy for tanking, Medic for sustain, Scoundrel for opportunistic setup, Scout for reconnaissance and Advantage, Sharpshooter for precision range, and Soldier for flexible all-round combat.
How Specializations work
A Specialization defines an Operator's combat role and ability package. EA groups abilities into Ultimate, Standard and Passive types. Ultimates are the largest swing tools, Standard abilities are active tactical options, and Passives continually shape how the Operator performs. Most actions use Action Points, while selected Special Actions use the shared Advantage resource instead.
Hawks and Custom Operators can change Specializations. Authored Operators have more fixed identity: their Talent is assigned, and some authored roles are not changeable. This distinction matters when planning a squad because custom recruits can be reshaped to fill missing roles more freely than story characters.
Assault — mobile front-line pressure
Assault is designed for aggressive movement at medium and close range. Its kit rewards closing distance and dislodging protected enemies. Sweeping Salvo, the Ultimate, fires into a large cone and can Disorient affected enemies, reducing their ability to hit back. Bull Rush charges a target, deals melee damage and pushes the enemy, with extra impact damage possible when the target collides or falls.
The passives reinforce that identity. Fleet of Foot improves the distance of the first movement, while Strike the Flanks increases critical potential against exposed enemies outside cover. Assault works well when the mission requires movement through the map rather than holding a static firing line. It also pairs naturally with a Blaster Rifle for general use or a Blaster Pistol when you want maximum AP flexibility at shorter range.
Gunslinger — fast multi-target offense
Gunslinger favors rapid attacks and flexible target switching. Open Fire can fire twice in one turn and split those shots among targets. Quick Draw provides a fast sidearm shot and refunds one AP when the ability defeats an enemy, which makes finishing wounded targets tactically valuable.
Keen Eye increases critical potential on ranged attacks, while Onslaught improves primary blaster damage across attacks made in a single turn. The result is a class that likes compressed offensive turns. EA explicitly lists Gunslinger among its maximum-damage and high-mobility recommendations. A Repeater can emphasize sustained damage; a Blaster Pistol can emphasize one-AP shot flexibility.
Heavy — durability and enemy attention control
Heavy is the straightforward front-line tank. Bulwark taunts enemies in an area, raises defense and reduces incoming damage for the turn. Unstoppable grants Retaliation stacks that counter incoming attacks. The passives add maximum health, armor efficiency and additional taunt behavior through primary blaster hits.
A Heavy is valuable when the map forces exposure or when fragile teammates need space to operate. This is not just a character with a larger health bar; the taunt tools actively manipulate enemy targeting. If your squad already has several damage specialists but repeatedly collapses when enemies push, Heavy may solve the actual problem more effectively than another offensive class.
Medic — sustain, recovery and buffs
Medic keeps the squad operating through difficult missions. Morale Boost grants Morale to the Medic and nearby allies, restoring health over subsequent turn starts. Combat Stim buffs an ally for two turns, increasing health plus melee and ranged damage.
The passives improve Medpacs and Rally. Lifesaving Measures increases Medpac healing, while First Responder gives a permanent Medpac without using a utility slot and improves the state of allies returned through Rally. One important limitation in EA's guide is that Medpacs cannot be used on droids, so a droid-heavy squad should not assume every healing tool applies equally.
Scoundrel — opportunity, Vulnerable and assists
Scoundrel is a flexible setup class. Easy Mark marks an enemy so the next ally attacking that target can receive an assist. Identify Weakness applies Vulnerable, making the next damaging attack a guaranteed critical hit. Never Play Fair raises assist damage, and Scoundrel's Instinct adds defense penetration to attacks.
This class becomes especially strong when your squad is already built around focus fire and assists. It does not need to be the character delivering the final blow; it can make another Operator's turn much better. That is why Scoundrel often feels stronger in a coordinated roster than its raw attack numbers suggest.
Scout — reconnaissance and Advantage generation
Scout is the strategic-support Specialization. Ambush is an Advantage-powered surprise attack whose damage scales with the Advantage committed. Combat Recon surveys an area and generates Advantage for enemies detected. Tactical Timing can generate Advantage after a kill, and The Spotter marks damaged enemies as Spotted so range and smoke penalties become less restrictive for the team.
Scout's value is therefore partly indirect. It improves the team's resource economy and makes targets easier for allies to hit. If you enjoy planning two or three actions ahead, Scout provides tools that reward that mindset. EA categorizes both Scout and Scoundrel as strong choices for strategic or tactical playstyles.
Sharpshooter — precision at long range
Sharpshooter is built to control long sightlines. Precision Shot is an Ultimate that always hits its target. Zero In grants Lethal stacks that improve hit chance and critical potential, but movement or being displaced removes the setup. Pick Them Off improves Overwatch hit chance and damage, while Sharpshooter Training raises blaster accuracy.
This class has the clearest positioning requirement among the standard set: it wants a safe location where it can remain stable. EA pairs Sharpshooter with the Longarm Blaster in its playstyle recommendations. That weapon's long optimal range and high critical bonus match the class, but the two-AP shot cost makes poor movement planning expensive.
Soldier — the all-round combat role
Soldier is the easiest class to understand when you are unsure what a mission will demand. Rocket Strike deals area damage, Brutal Strike rushes an enemy with a melee hit that Dazes, Strength improves melee damage and grenade throwing distance, and Armsmaster increases primary blaster and grenade damage.
EA calls Soldier a strong beginner choice because it can operate across close and medium range without requiring a narrow setup. It can threaten groups, pressure one target and function in mixed-range fights. A Blaster Rifle is the safest default pairing because its medium range and first-shot AP efficiency fit the class's flexible identity.
Which Specialization should you choose?
| Goal | Strong starting fit | Why |
|---|---|---|
| Learn the game | Soldier / Assault | Flexible roles, simple positioning goals |
| Maximum offense | Gunslinger / Soldier / Heavy | EA recommends these with a Repeater for damage-focused play |
| Long range | Sharpshooter | Precision tools and Longarm synergy |
| Mobility | Assault / Gunslinger | Can keep pressure while repositioning |
| Tactical setup | Scout / Scoundrel | Advantage, Spotted, Vulnerable and assist tools |
| Sustain | Medic | Healing, Rally and buffs |
The table is a role guide, not a permanent tier list. Mission layout, teammates, Talents and Weapon Classes can change the value of a Specialization. A class that is mediocre in one squad can be essential in another because it supplies a missing range band or support mechanic.
Respec changes how risky the first choice is
Post-launch guide testing reports that changing Specialization becomes available early, around Cycle 3, and refunds Focus Points spent in the class tree. That makes experimentation practical. You should still choose a sensible opening role, but you do not need to restart the campaign because your first class no longer matches the way you want Hawks or a custom recruit to play.